Contents

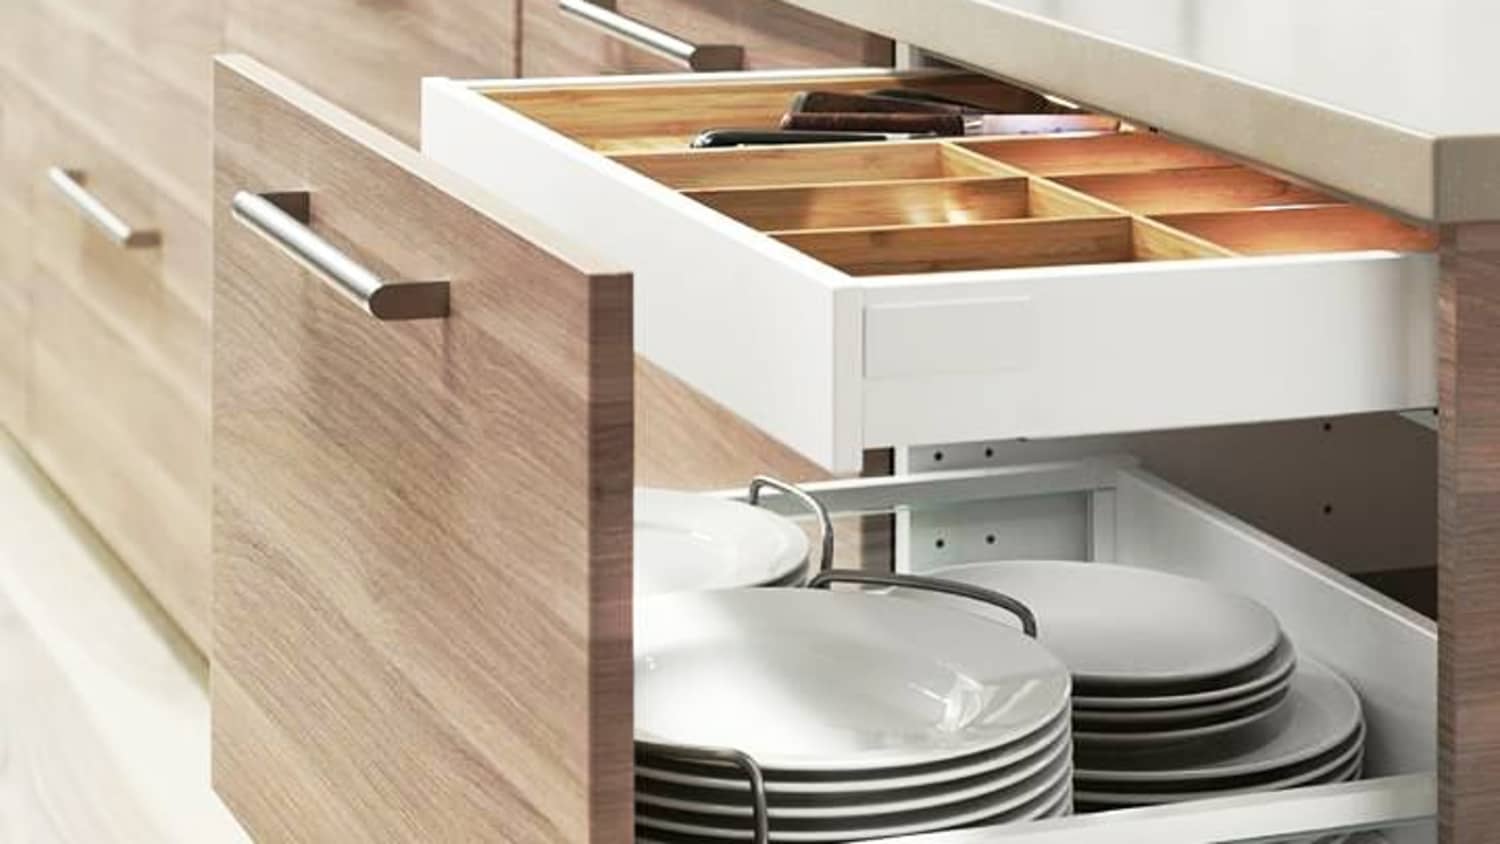
Are you looking for a way to add more drawers in your kitchen without spending more on extra cabinets? This guide on how to convert base cabinet shelves to drawers can help you do so. Following this guide, you can easily convert cabinet shelves into drawers; allowing your kitchen storage space to be more organized. So, check out the steps below to finally improve your kitchen storage game at a minimal cost.
Tools And Materials
Before you start with the woodwork, you want to gather up all tools and materials for the task. The list below shares what’s required for the task:
[su_spoiler title=”Required Tools for this Project:” open=”yes” style=”simple” icon=”plus” anchor=”” class=””]
[su_list icon=”icon: arrow-circle-right” icon_color=”#4f8901″]
[su_row class=””]
[su_column size=”1/2″ center=”no” class=””]
- Screwdriver
- Paintable wood filler
- Sanding paper or scraper
- Jamb saw
- Pegs
- Circular saw
- Hammer
- Measuring tape
- Pencil
- 2-ft by 4ft plywood with ¾ inch thickness
[/su_column]
[su_column size=”1/2″ center=”no” class=””]
- 4-ft by 4ft plywood with ½ inch thickness
- Wood tape
- Wood screws
- Finishing nails
- 22-inch drawer sliders for two drawers
- Rear mounting brackets
- Drill
- Bar clamp
- New handles with screws
- Wood paint
[/su_column]
[/su_row]
[/su_list]
[/su_spoiler]
Step-By-Step Instructions
Different cabinet shelves and drawers have different sizes. This means that different DIYers will also be dealing with different sizes based on their designs at home. But, the principles and conversion steps remain the same. In this case, we are dealing with a cabinet edge and middle frame piece that has an in-between space of about 10.5 inches.
Step 1 – Take The Cabinet Doors Apart
- The first step involves taking the cabinet doors out to reserve them for later. To remove the doors, use a screwdriver to remove the screws from the hinges and handles. To easily remove the hinges from the walls, simply loosen up the screws and then, gently pull out the door.
- If you want to use the same hinges and handles, reserve them in a safe place so you can re-install them when the time comes. Alternatively, if you afford it, you can opt for new handle and hinge designs.
- Using wood filler, cover the holes where the handles and hinges were. Then, smooth the top of the filled hole using sanding paper or scraper and dry the surface with a damp cloth when the filler dries up.
Step 2 – Remove The Frame And Shelf
- The next step is to remove the center frame of the cabinet and the shelf. However, this step is only relevant for face-framed cabinets. If you have a frameless cabinet, removing the doors is all you need to do.
- After removing the frame, you can also reserve it for later again. But, you want to make sure you carefully remove it without damaging it. To prevent the wood from shattering or cracking, use a door jamb saw to remove the frame.
- Start by cutting the bottom of the frame and ensure you cut it with proper leveling. You can use pegs to hold the frame in place to prevent it from slanting. To stabilize the pegs, glue them to the top center of the frame and use a circular saw to remove them once you have completely cut off the center frame’s bottom. Lastly, remove the interior shelves by pulling them out. If the shelves are too tightly attached to the interior, use a circular saw to cut out the edges. Then, to pull it out of the corners, knock it out with a hammer.
Step 3 – Built The Kitchen Cabinet
- To be able to fit in the drawers, you want to cut out a few fractions from the center frame wood piece. Then, cut the frame wood into two small 1-inch wide strips.
- After cutting the strips, screw them on either side of the cabinet frame with the painted frame sticking out as before.
Step 4 – Built The Kitchen Drawers
- To build your drawers, you first want to measure the size of the drawer you want on the frame. To do so, measure the depth and width of the cabinet hole using measuring tape and pencil for markings. As a standard rule, the drawer’s bottom needs to be 2 inches shorter than the cabinet’s width and 2 inches deeper than the cabinet. So, the dimensions of the drawer should be 20 inches wide by 22 inches deep.
- Use the new 2-foot plywood to make the drawer bottoms. You will need two bottom pieces and can do so by using a circular saw. Compared to the ½ inch thick plywood, the ¾ inch plywood is a quarter inch thicker which makes all the difference if you plan to store heavy items in your drawer. During the cutting process, you want to tape it to prevent edge chipping.
- Next, measure the height of your cabinet hole to get the height of your drawers using a measuring tape. To the actual height, reduce the total height of the hole by an inch and then, divide the value by two to get the height of the drawer. So, in this case, we’ve established that the cabinet hole is 22 inches high, so, you will subtract an inch to 21 inches and then, divide by 2 to get the total 10.5 inches.
- To make the sides and ends of the drawers, use the less thick 2-foot plywood. For the ends, you will need 4 boards. Cut the plywood using a circular saw in the same dimensions as the bottom of the drawer, i.e. 20 inches by 10.5 inches.
- For the sides, use a circular saw to cut the sides – you will need 4 boards for the 2 drawers. For the sides, you will need the length to be a little longer. The dimensions of the sides should be 23 inches long by 10.5 inches wide.

Step 5 – Put Together The Drawers
- This step involves putting the drawers together in a cabinet.
- Use a screwdriver and screws (designed for wood) to attach the ends and sides to the drawer’s bottom. Then, finish up the attachment with finishing nails.
- Extend drawer slides and push down their release latch to separate them and set them aside.
- Measure about 3 to 4 inches high from the bottom of the drawer on the sides and mark the area with a pencil.
- Use wood screws to attach the non-extendable sides of the new drawer slides underneath the marked area. Make sure to place the closed end of the slide at least 1/8 inch away from the front of the drawer. Do the same for the other drawer. During the installation, use rear mounting brackets. However, if you have frameless cabinets, you don’t need rear mounting brackets.
- Measure the width of the cabinet door and add at least an extra ¼ inch to make it easy for the doors to move after installation. This means that if your cabinet door measure 11.5 inches wide, you have to leave a space of about 1.75 inches.
- Install the sliders with the bottom slide placed on the marked area (from step 17) and the top slide placed on the area you measured on step 19. Then, start by installing the bottom drawer followed by the top drawer.
- The last step of putting the drawers together is to install the drawer fronts. Using a bar clamp, clamp the drawer fronts to the bottom drawer – leaving the top drawer front 0.5 inches from the top drawer. The clamping helps to balance the fronts – ensuring they are not hanging on either side.
- On the interior of the drawer fronts, install 4 wood screws on the ends of the sides.
- Drill holes on the center of the drawer fronts and fit in the handles. Then, screw them in.
If your drawers need any painting tough up, cover up the handles, sand the drawer fronts and apply the coating you want. To add more aesthetics to your kitchen, you can even add some patterns to the drawer fronts. In this case, before you install the drawer fronts onto the drawers, use a wood router to create the designs you want.