Contents

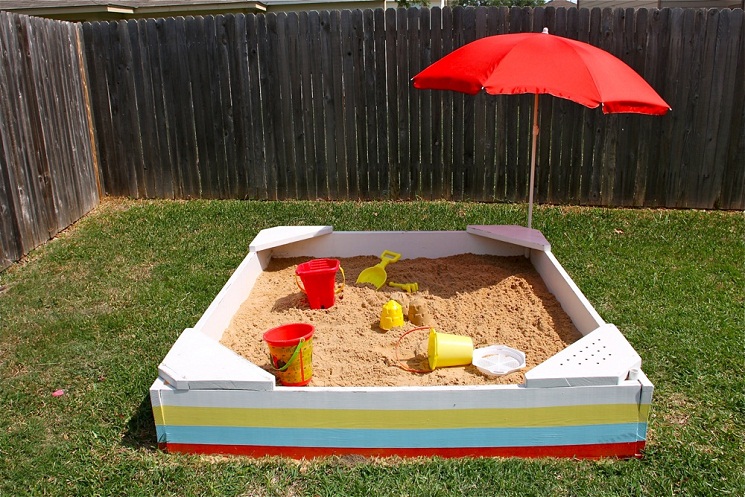
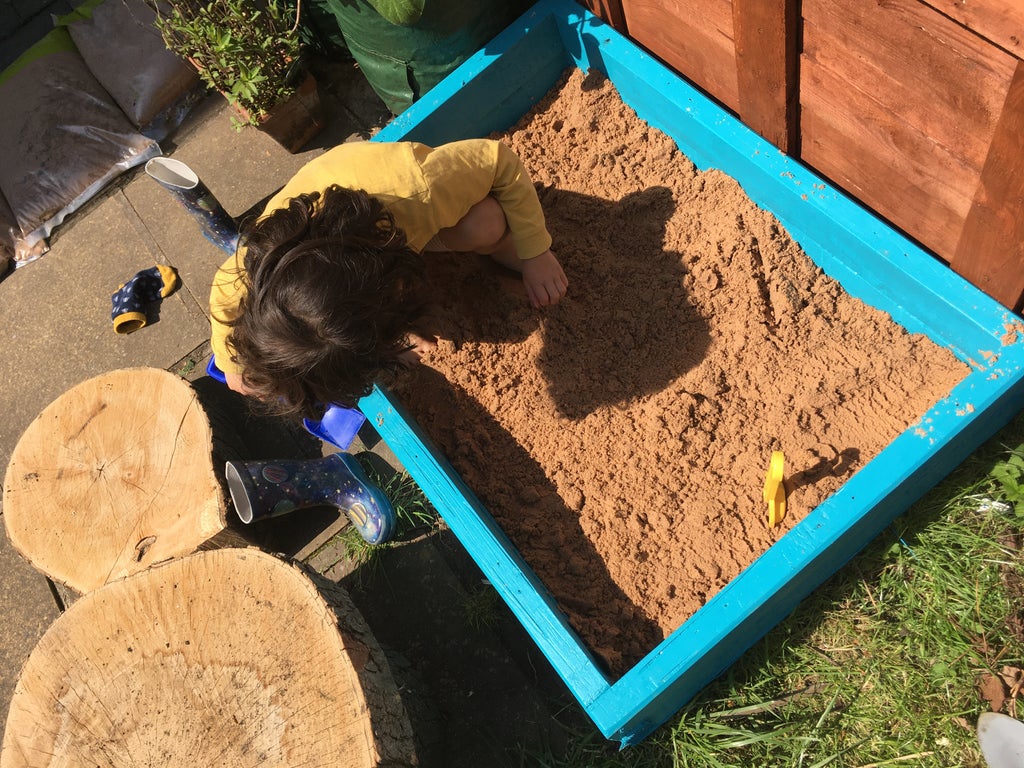
Pallet sandboxes offer a great way to get your small children busy on a summer afternoon. Depending on how they are made, your little ones can enjoy a wide selection of activities whether they want to build a side castle or even play with the mini puddle added by partitioning the pit.
Yet, investing in a sandbox doesn’t necessarily mean that you have to dig deep into your pockets. With a few tools and wood laying around in your garage or backyard, you can easily build one from scratch. So below, we’ve shared a foolproof guide of how to make DIY pallet sandbox from the comfort of your home.
Tools And Materials
Before you start working on the sandbox, you want to have the right equipment and materials lined up. These include:
[su_spoiler title=”Required Tools for this Project:” open=”yes” style=”simple” icon=”plus” anchor=”” class=””]
[su_list icon=”icon: arrow-circle-right” icon_color=”#4f8901″]
[su_row class=””]
[su_column size=”1/2″ center=”no” class=””]
- Wood pallets or planks
- Crowbar and hammer to disassemble the pallets or wood
- Finishing sander and 60 and 120 sanding paper for sanding
- Seal sealing wood stain to stain the wood
- Size 2 and 4 Paintbrushes
- Single thread 5x40mm screws
- 50mm nails
- Tarpaulin
- Woodcutter
- Router
[/su_column]
[su_column size=”1/2″ center=”no” class=””]
- Wood stapler
- Scissors
- Handsaw
- Utility knife
- Clean cloth
- Power drill and screwdriver bits
- Measuring tape
- Safety gear – overalls or protective clothing (to shield yourself from the dust), safety goggles, and respirator
[/su_column]
[/su_row]
[/su_list]
[/su_spoiler]
[su_divider top=”no” style=”default” divider_color=”#444″ size=”3″ margin=”15″ class=””]
[su_dropcap style=”flat” size=”2″ class=”” dropcap_color=”#fa5738″]1[/su_dropcap]
Step
[su_divider top=”no” style=”default” divider_color=”#444″ size=”3″ margin=”15″ class=””]
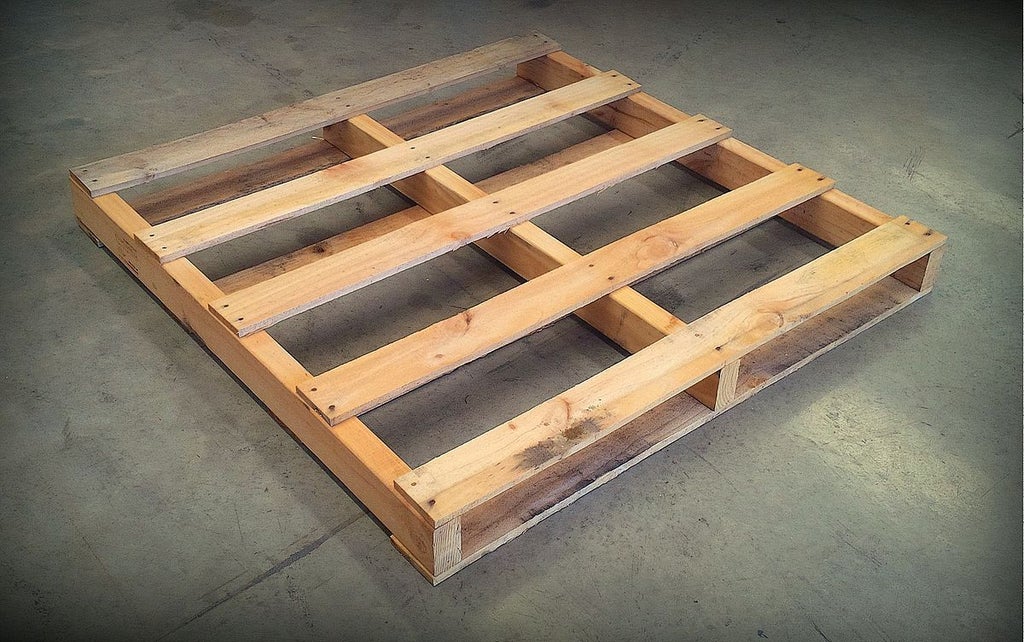
The first step is to collect the wood or old wood pallets lying around in your home, then, using a crowbar or a hammer, remove the nails and their bits holding the wood. In this case, let’s use a 4-way entry pallet that measures 1000 by 200mm. If you use a pallet, take apart the wood connected in the center to leave a frame with only two layers of wood connected to form a rectangular shape.
If you use individual wood planks, use a power drill with the drill bits to screw in the bails and single thread screws to form two layers of a rectangular pallet frame. With the completion of preparing either frame, leave some wood planks around to be used later n for the wall, ground, and top part of the frame – a total of 4 short, wide planks for the ground, 4 long, narrow planks for the wall, and 4 wide, long planks for the top part.
[su_divider top=”no” style=”default” divider_color=”#444″ size=”3″ margin=”15″ class=””]
[su_dropcap style=”flat” size=”2″ class=”” dropcap_color=”#fa5738″]2[/su_dropcap]
Step
[su_divider top=”no” style=”default” divider_color=”#444″ size=”3″ margin=”15″ class=””]
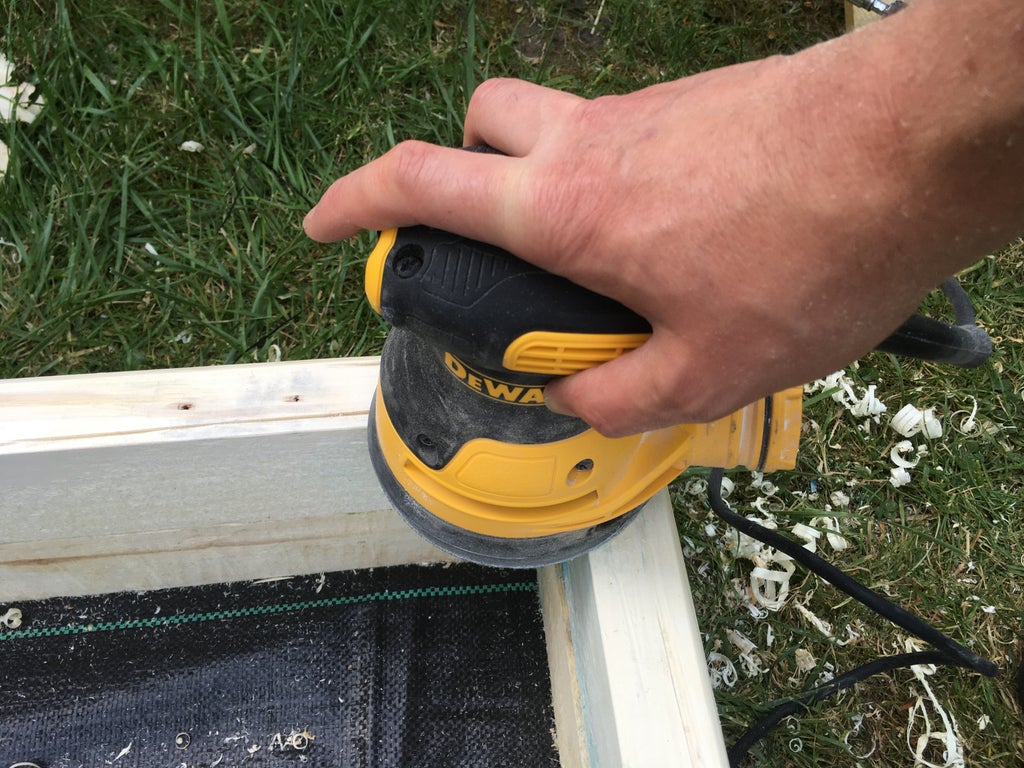
The next step involves the sanding and staining process. In this step, you want to use the sanding machine with the paper, to sand the frame – around the top and bottom planks. The purpose of simply sanding the top and bottom is that the interior and middle parts will not be exposed to the outside anyways.
The only thing you have to make sure of is that the wood is water-resistant to prevent it from routing. If not, you can apply a water-resistant treatment. The next step is to stain the entire frame with an outdoor-friendly self-sealing water-resistant stain (this will work as the DWR treatment for other parts of the wood that weren’t sanded).
[su_divider top=”no” style=”default” divider_color=”#444″ size=”3″ margin=”15″ class=””]
[su_dropcap style=”flat” size=”2″ class=”” dropcap_color=”#fa5738″]3[/su_dropcap]
Step
[su_divider top=”no” style=”default” divider_color=”#444″ size=”3″ margin=”15″ class=””]
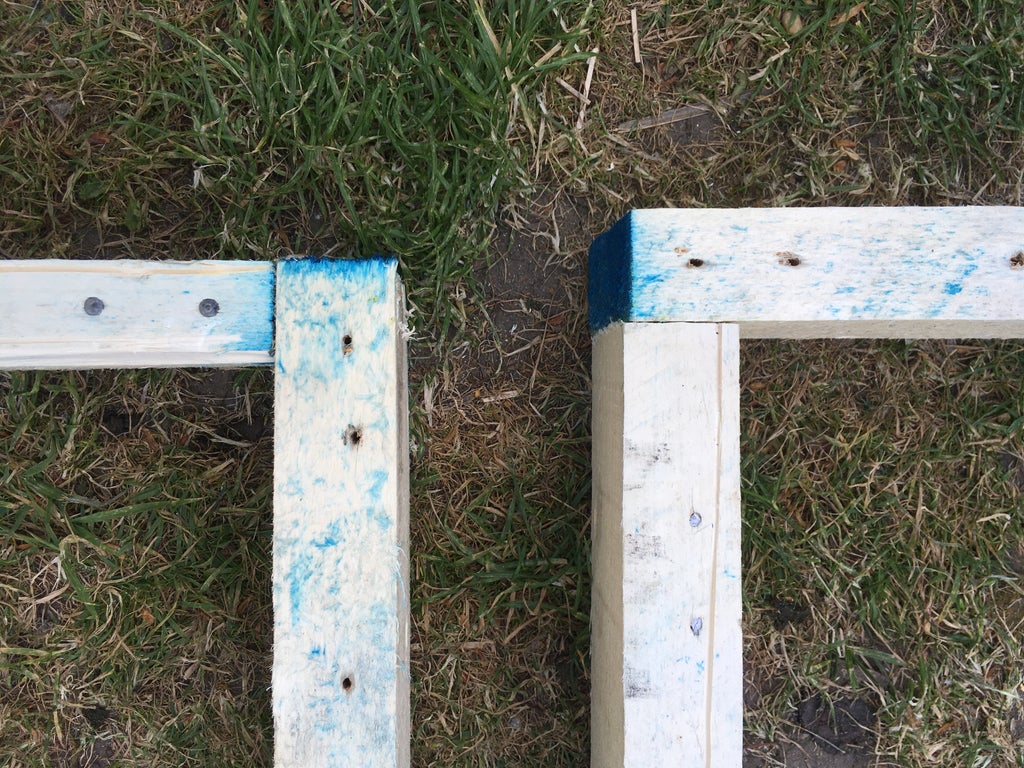
The third step is to put together the remaining plans into the frame. Using a measuring tape, measure the size of the planks to match the frame dimensions, cut them, trim them, and edge them if necessary to get the ideal size.
You will use the long planks together as the outer walls and the shorter, wide ones as the interior sitting surface of the pit. Sand the planks, wipe the dust off, and apply the wood stain. If you want to apply multiple coats, you have to wait 4 hours between each application.
[su_divider top=”no” style=”default” divider_color=”#444″ size=”3″ margin=”15″ class=””]
[su_dropcap style=”flat” size=”2″ class=”” dropcap_color=”#fa5738″]4[/su_dropcap]
Step
[su_divider top=”no” style=”default” divider_color=”#444″ size=”3″ margin=”15″ class=””]
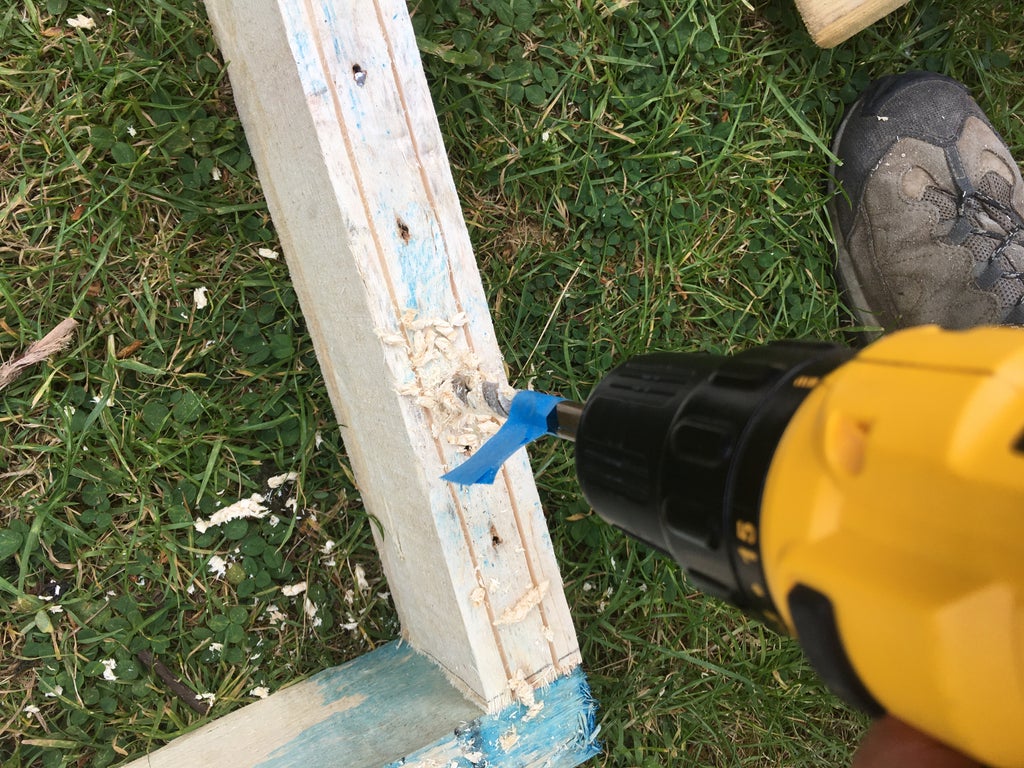
The next step is to nail the wall and ground planks to the nail using a power drill, nails, and screws.
[su_divider top=”no” style=”default” divider_color=”#444″ size=”3″ margin=”15″ class=””]
[su_dropcap style=”flat” size=”2″ class=”” dropcap_color=”#fa5738″]5[/su_dropcap]
Step
[su_divider top=”no” style=”default” divider_color=”#444″ size=”3″ margin=”15″ class=””]
After the nailing process, attach the tarpaulin sheet to the frame by stapling it to the top parts of the frame. During the taping press, don’t tighten the tarp, you want it to be loose so it can adequately cover the ground without ripping even when you add the sand. Cut off the remaining hanging tarp (or fold the tarp before stapling to leave the sandbox looking neat.
[su_divider top=”no” style=”default” divider_color=”#444″ size=”3″ margin=”15″ class=””]
[su_dropcap style=”flat” size=”2″ class=”” dropcap_color=”#fa5738″]6[/su_dropcap]
Step
[su_divider top=”no” style=”default” divider_color=”#444″ size=”3″ margin=”15″ class=””]
The final step is to nail the last batch of the wide planks to the top of the frame. After nailing the final frames, you can then add the sand to fill up the pallet box and you will be done.
However, building a sandbox is not only limited to a simple rectangular framed one. Whilst the steps covered above address the basics, you can choose to customize your sandbox however, you want. Some of the other sandbox styles you can try out include a picnic table-style sandbox.
A picnic table-style sandbox involves building the picnic table then, screwing a pallet-style sandbox on the tabletop. Alternatively, you can opt for a larger rectangular framed sandbox partitioned with a sand part and water part.